
How To Apply Clip-Ins For Thicker Hair
Pump up the volume with our three piece Synthetic Clip-In EXTENSIONS FOR THICKER HAIR. This set was created simply to make thin hair thicker. Just these few pieces give you plenty of options to enjoy more hair and more styling possibilities. Enhance your everyday style, or improve the look of today’s trendy looks like braids, buns, ponies and much more.
The Synthetic Clip-In EXTENSIONS FOR THICKER HAIR are designed to add THICKNESS to your current hair. LOX Synthetic fibers are 100% HEAT FRIENDLY up to 320 degrees. All LOX Synthetic Hair Clip-In Extensions come pre-cut and styled, ready to be worn right out of the box! Choosing your length of hair extensions is as easy as choosing the hair of your dreams. For the most realistic blend, always stay within two inches of your natural hair when choosing the length of the extensions.
Turn Up The Volume!
Amplify your everyday look, or create that special look for holidays, weddings, vacations, parties, or any special occasions.
Clip-In Extensions For Thicker Hair Application
Use our reference points and your fingers to navigate your way through our simple 5-step application.
- Prepping Each Section: For thin hair, prep each section for extra security and support. Use a clip to secure all hair away from the area you will be prepping. Use one hand to hold the ends of your hair, and place a comb 1 inch from the scalp with the other hand. Push the comb towards the scalp three times. This creates a cushion for the clips to hold onto.
- Opening and Closing the Clips: To open the clip, use your index finger and thumb to gently push the center of the clip. To close the clip, push your thumbs the opposite way
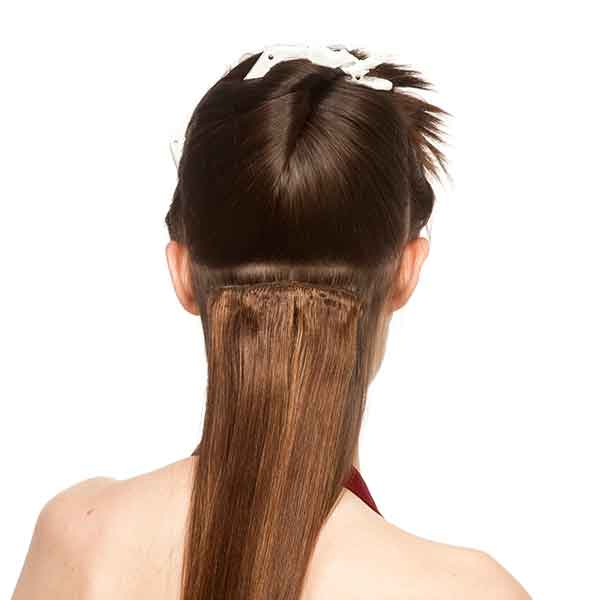
- Row 1: Row 1 has three clips; the middle clip is labeled in an opposing color. Place your index fingers at the bottom of your ears. Draw a line meeting both fingertips in the center back of your head. Twist and clip all hair above your fingers up and away. Depending on the thickness of your hair, you may need to prep the section at this time (see prepping each section). Start with the middle clip, place it in the center of the section and secure it into place. Continue to secure the remaining clips.
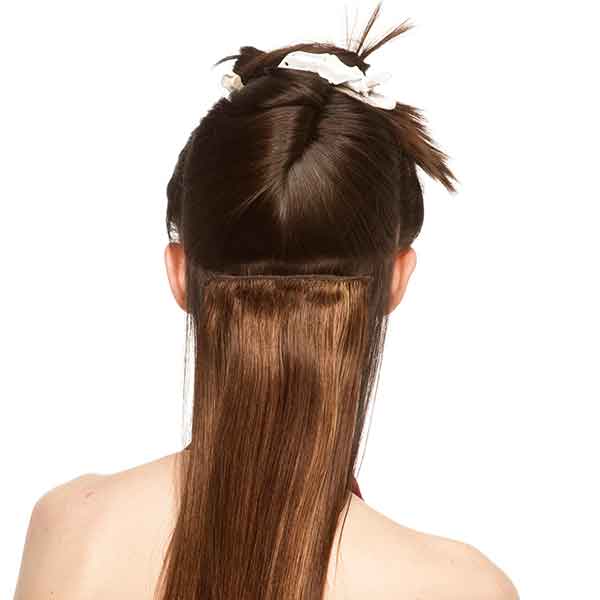
- Row 2: Row 2 has four clips. Draw a line meeting both fingertips in the center back of your head.Twist and clip all hair above your fingers up and away. Depending on the thickness of your hair, you may need to prep the section at this time (see prepping each section). Start with the 2 middle clips, placing them in the center of the section and secure it into place. Continue to secure the remaining clips.
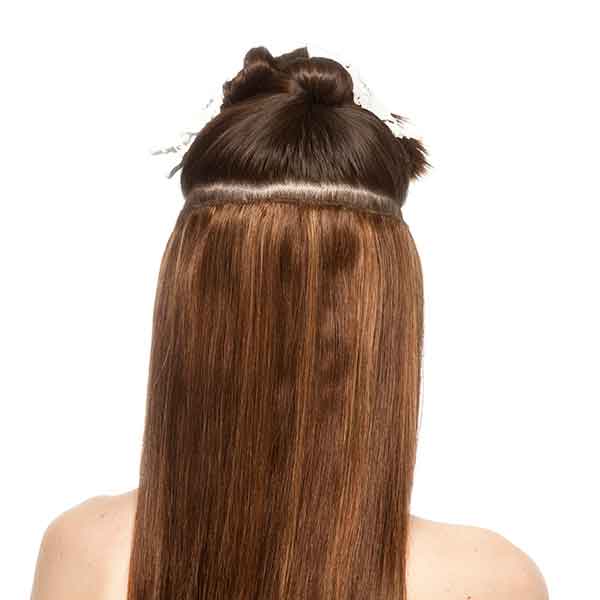
- Row 3: Row 3 has six clips. Place your index finger at your temple. Draw a line towards the center of your head. Depending on the thickness of your hair, you may need to prep the section at this time (see prepping each section). Start with the clip closest to the face, place it a 1/2 inch away from the front hairline and secure it into place. Continue to secure the remaining clips.
- Removing the Clip-Ins: To remove the extensions start at the top of your head. Clip everything above the extensions up and away. Gently open all the clips. Lift the whole piece up and away from the head. Do not pull down on the extensions, as this may cause harm to your natural hair. Continue working down the head clipping natural hair up and away.
Products For Clip-In Extensions For Thicker Hair
<p>In order to maintain your LOX Extensions, it is essential that you sustain the moisture content of the Remy Human Hair. Below are hair extension care guidelines to help you keep your LOX hydrated and healthy. To maintain the highest quality, we recommend using professional products ONLY.
- Sulfate-Free shampoo: We recommend cleansing your hair extensions with a gentle shampoo. Properties such as sulfate-free, hydrating, and/or color protecting are all suggested. Please avoid harsh shampoos, including those designed to treat sensitized or damaged hair.
- Moisturizing mask: We recommend using a mask that can be used every time you wash your hair. The extensions do not absorb the natural oils produced by our scalp, so it is essential to infuse luster and moisture into the hair.
- Leave-in conditioner with heat protection: We recommend a nourishing cream to help protect the Remy Hair from the daily aggressions of a blow dryer, flat iron, curling iron, and heat from the sun.
- Shine serum: We recommend using a shine serum for aid in detangling the hair, increasing brush glide, and moisture retention.
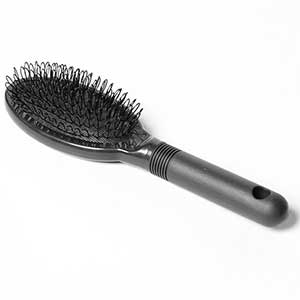
- LOX Loop Brush: To avoid matting when brushing in between the wefts and micro bead hair extensions, it is essential that you use a LOX Loop Brush.
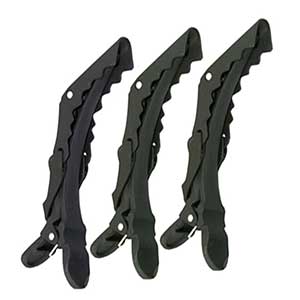
- LOX Hair Clips: These clips make it so simple to clip up a lot of hair at once. Use them when blow drying or styling your hair. </p>
Clip-In Hair Extension Care
- We recommend the use of professional products only. If wearing the extensions every day, LOX recommends shampooing them once every 3-4 weeks. If wearing occasionally, LOX recommends shampooing them once every 3-4 months. For longer lasting extensions, the hair should be washed only as needed. Never swim or shower while wearing extensions.
- WASHING THE REMY HUMAN HAIR CLIP-IN EXTENSIONS:
- Before shampooing, gently remove any tangles using our LOX Loop Brush.
- Hold the extensions at the clips, and dampen them with cooler water. Apply sulfate-free shampoo, and gently stroke the hair in a downward starting from the top of the weft down to the ends. Do not use circular or scrubbing motions. Rinse thoroughly in the same direction.
- Apply the moisturizing mask. Avoid contact with the base of the extensions. Condition the hair in downward strokes. Leave conditioner on for 30 minutes. Rinse thoroughly.
- STYLING:
- We recommend laying the extensions out flat to air dry or using heat tools. If you are using our synthetic clip-ins, we do not recommend the use of a blow dryer or hot tools over 320 degrees. Always use a heat-protecting product on the hair before applying heat.
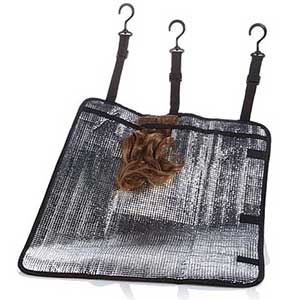
- Use our LOX Clip-In Bag when styling the extensions.
- Use a ceramic or boar bristle brush to blow-dry the hair.
- Heat tools, including curling irons and flat irons, may be used. Keep the heat approximately 1 inch away from the base of the extensions.
For further questions please reach out to us by one of the following options: phone at 888.LOX.0110, online chat, or by submitting our contact us form.
You continue to inspire us! Please be sure to #loxextensions and share your amazing transformations. For inspiration, visit LOX hair extensions before and after gallery on our Facebook Page! We welcome you to be part of the LOX Extensions family, join us!
Share this Post